Documentary craft
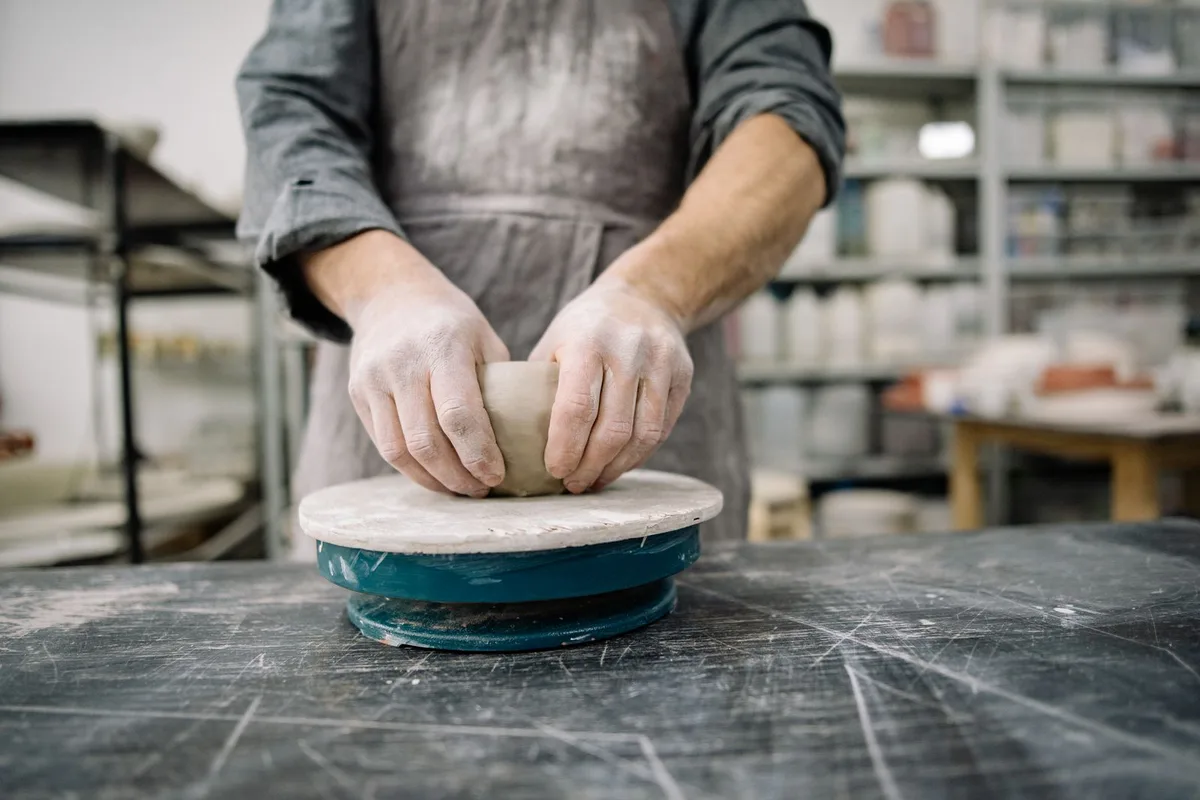
Read: waist-level close view, centered hands, shallow working background, soft window light. Change: move closer without changing the moment.
Free photography worksheet · no sign-up
Upload a reference photo and describe how it was visually made: the moment, camera position, framing, depth, light, exposure, color treatment and photographic style. Copy one grounded prompt, then test three reshoot directions that each change only one dimension.
Photographic reference analysis
Photography worksheet
This tool describes visible photographic effects. It does not read EXIF, recover exact camera settings or prove which lens, aperture, shutter speed, ISO or editing preset created a photo.
Each example highlights the photographic decisions that shape the image. The output should preserve the visible shot first, then make one controlled change instead of inventing unsupported metadata.
Read: waist-level close view, centered hands, shallow working background, soft window light. Change: move closer without changing the moment.
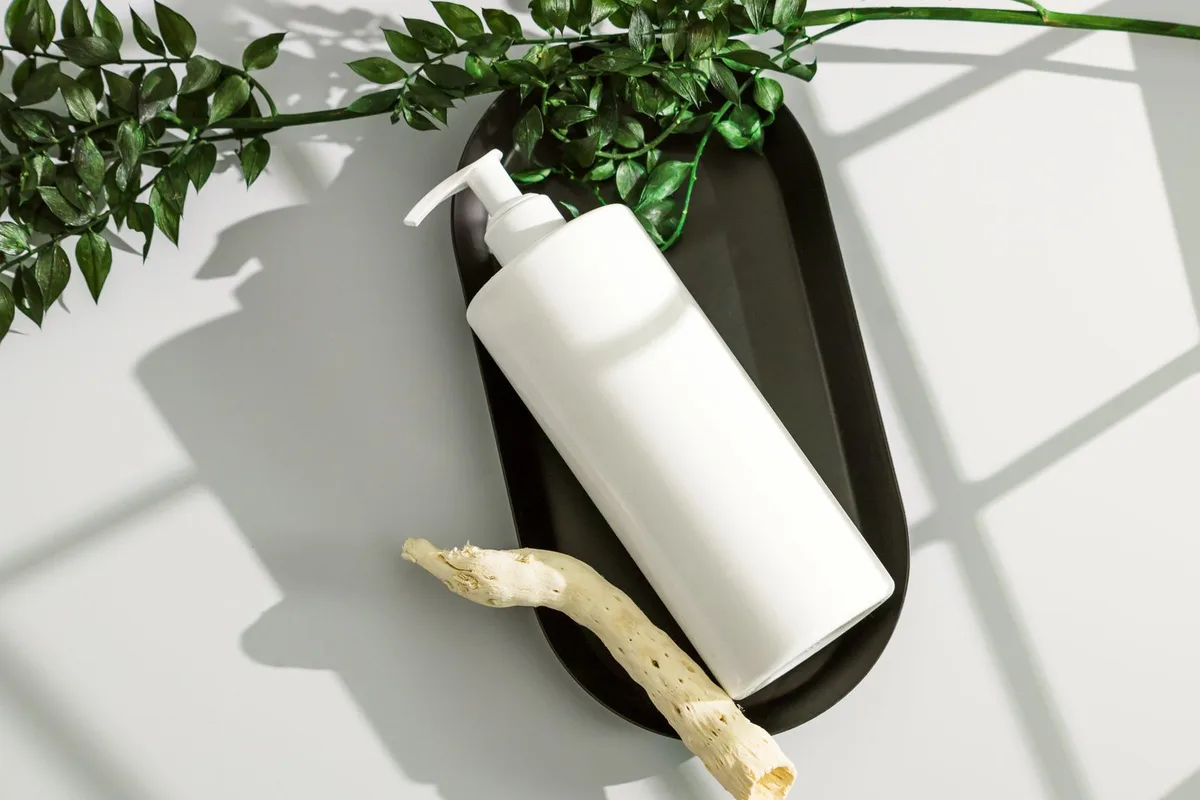
Read: overhead angle, diagonal placement, hard daylight shadow, pale stone and green accents. Change: soften the light only.
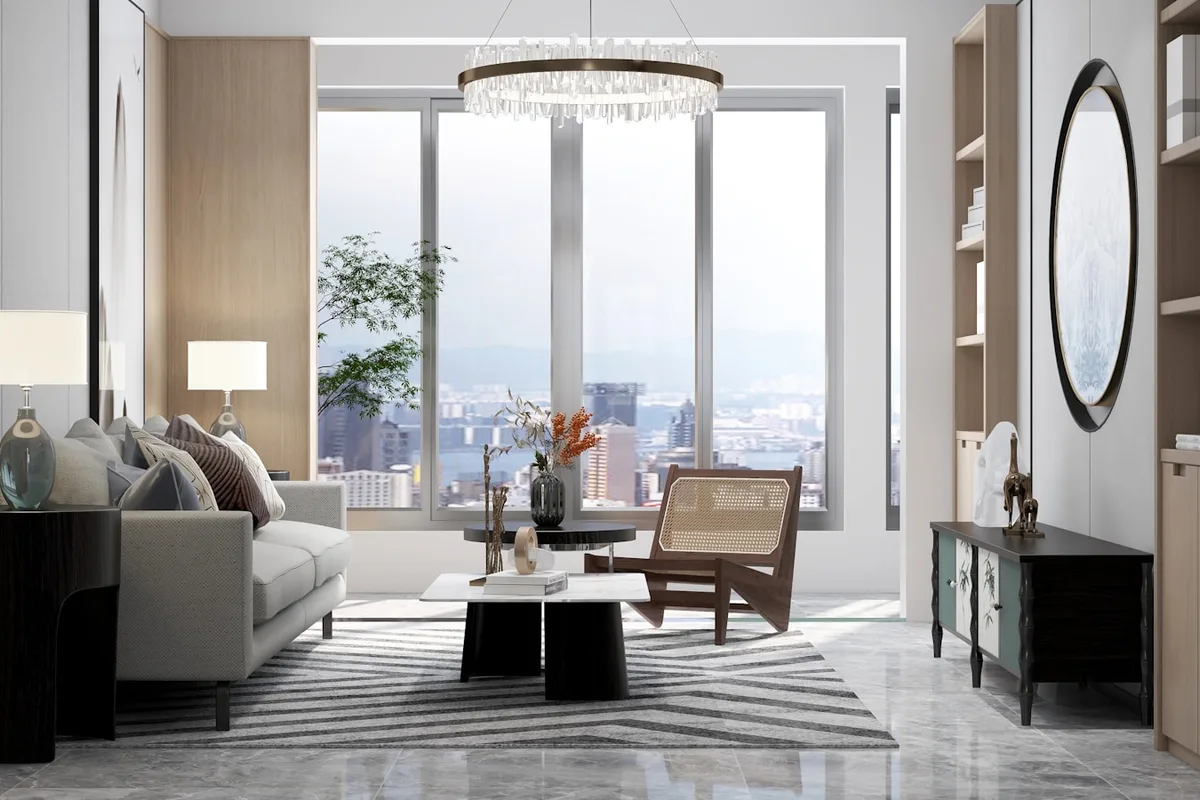
Read: wide eye-level view, balanced furniture, deep room detail, soft morning window light. Change: shift to blue hour only.
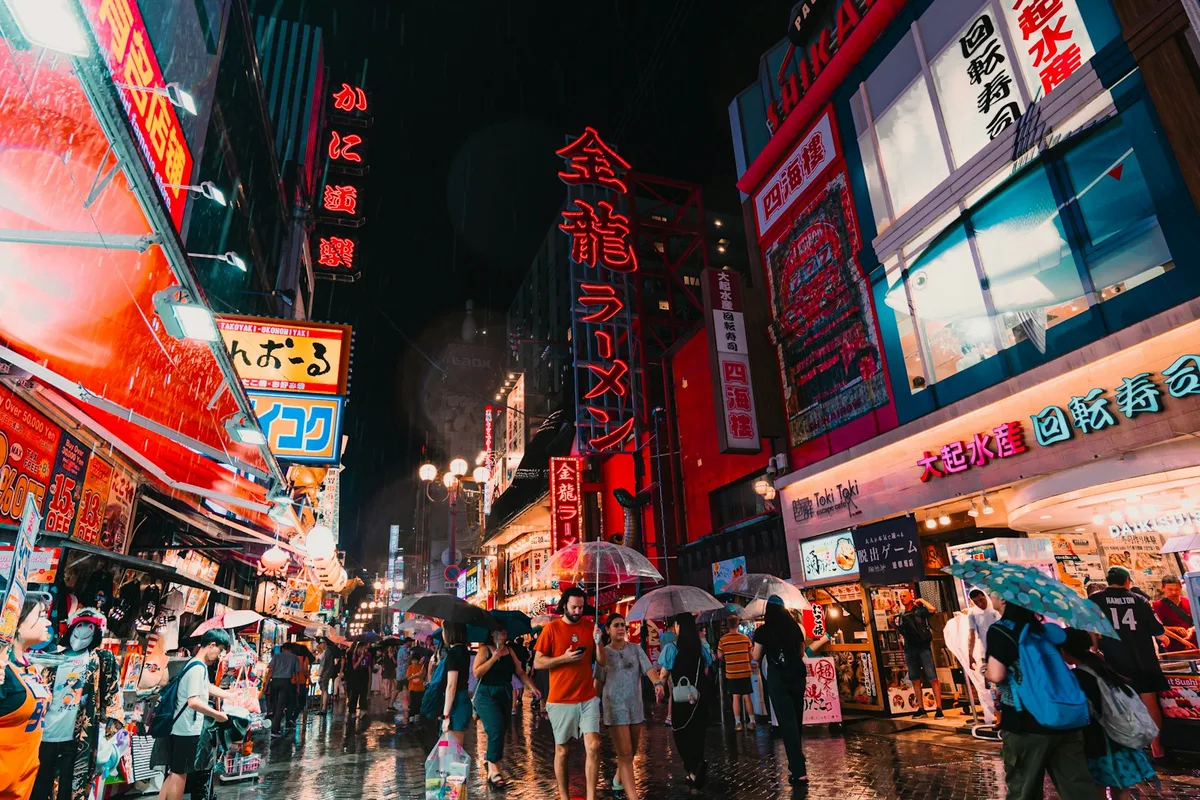
Read: street-level perspective, converging storefronts, bright reflections, deep shadow and implied motion. Change: lower the camera angle only.
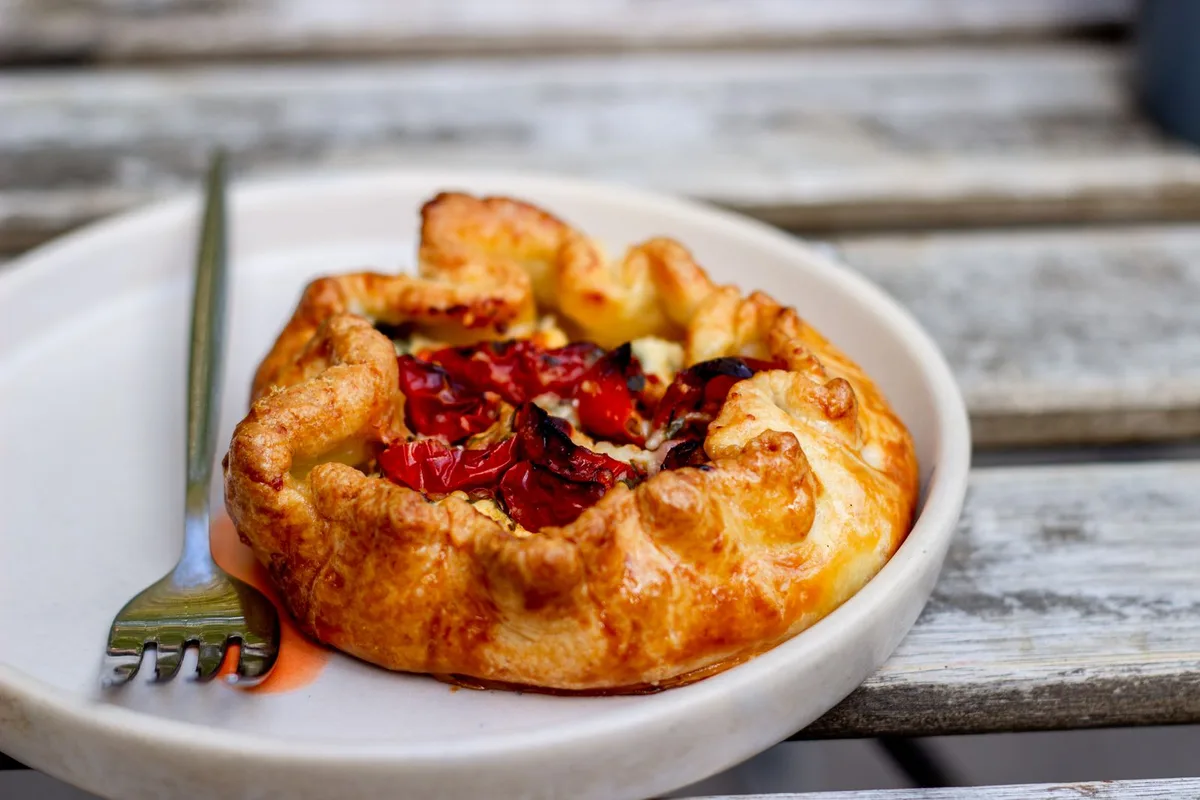
Read: close three-quarter overhead view, shallow background, gentle side light and warm pastry texture. Change: switch to a full overhead view.
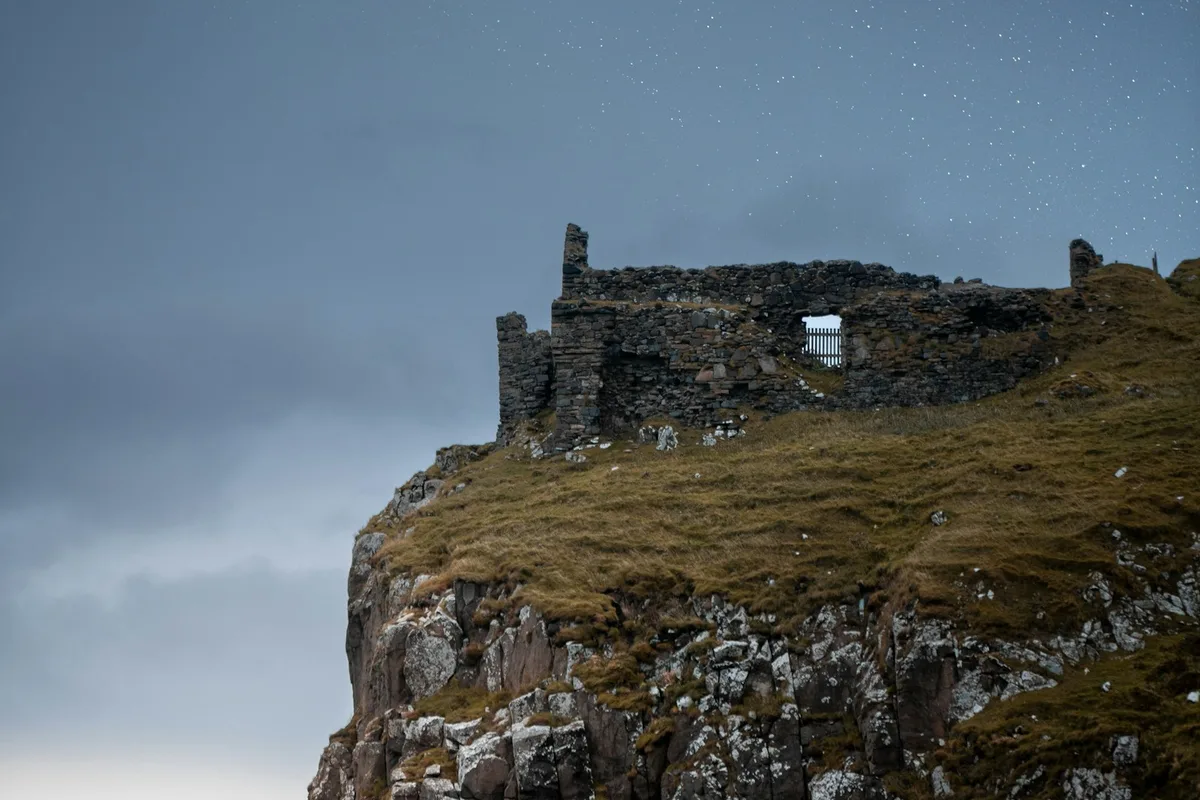
Read: low viewpoint, broad sky, distant mist, subdued cool palette and strong negative space. Change: replace overcast light with dawn light.
Worked example · Editorial teaching notes
Use this product reference to check what belongs in each field. The notes and prompt below are an editorial draft based on the visible image, not a recovered original prompt or an unedited generator result.
A white pump bottle lies diagonally on a dark oval tray. Green stems cross the upper edge, a pale branch sits near the lower edge, and sharply defined shadows cross the light surface. The framing looks down onto the arrangement.
Hard directional light is supported by the shadow edges. “Daylight-like” is a useful description of the effect; “shot beside a south-facing window at 9 a.m.” invents a setup the image cannot establish.
The exact lens, aperture, shutter speed, ISO, time of day and material of the pale surface are unverified. Do not convert a plausible guess into a camera specification or product fact.
Overhead product photograph of an unbranded white pump bottle placed diagonally on a dark oval tray, with green stems across the upper edge and a pale branch near the lower edge. Keep the light neutral surface and the open space around the arrangement. Use hard directional light with clearly defined leaf and frame shadows, restrained green and neutral colors, and readable detail on the bottle and tray.
Replace only “hard directional light with clearly defined leaf and frame shadows” with “soft, diffused light with gentle shadow edges.” Keep the subject, viewpoint, placement, colors and framing unchanged in the text.
Review the result: are the shadow edges softer, and did the bottle, tray or camera angle drift? If they drifted, restore those anchors before making another change. Record the destination model, version and settings; a text edit alone does not guarantee one visual change. No generated before-and-after result is claimed here.
For more reference patterns, browse the prompt library. For general subject and scene fields, use the structured text prompt tool.
A strong photography prompt separates the fixed visual evidence from the one production choice you want to test next.
Reconstruction
Start with the full Photo Prompt when you want another generator to approximate the original viewpoint, subject relationship and light. Correct visible facts before adding detail. A missing foreground object or wrong camera height matters more than decorative language about quality.
Reshoot planning
Use the eight fields as a checklist for a photographer, designer or content team. Subject, angle, framing, depth and light can be discussed independently, which makes the reference actionable without claiming access to its original camera metadata.
Controlled variation
Test one suggested shot: a lower viewpoint, softer light or deeper focus. Keep the remaining prompt stable to make the comparison easier to interpret; model randomness can still change the result. This avoids accidental changes to pose, scene, palette and composition all at once.
A caption names the content. A photo prompt also describes where the camera seems to be, how space is organized, which planes are sharp, where light comes from and how color is treated.
Use the result as a reviewable creative brief. Check faces, small objects, background relationships and ambiguous light before treating the output as a final prompt.
It describes the visible subject, moment, scene, shot type, viewpoint, framing, lens look, depth, light, exposure, color treatment and photography style, then assembles those observations into one model-neutral prompt.
No. It describes visible effects and never presents focal length, aperture, shutter speed, ISO, camera or lens as known metadata. A finished image can suggest a look but cannot prove the original capture setup.
Yes. Clear photographs with readable subjects and composition work best, including people, products, interiors, street scenes, food and landscapes. Illustration-specific needs are better handled by the main ImageToPrompt generator.
You can upload JPG, PNG and WebP files. Large photos are resized in the browser before analysis. This page shares the daily free allowance with the other ImageToPrompt tools.
Keep the photography worksheet as your source brief, then choose FLUX, Midjourney, Stable Diffusion or Nano Banana formatting in the main generator.